The Best Way to Integrate Modulars into Your Music
Just talking about the rise of modular synthesizers has become cliché. Electronic music-related websites post modular fodder because a lot of people are interested in watching videos of social outcasts pinging their vactrols. This increased interest corresponds to an ever-growing sect of techno artists who act like they’ve found Jesus since they’ve “gone modular” and proceed to use it in extremely limited ways as well as a host of frustrated amateurs who believe a wall of multicolored patch cables is their key to the Beatport Top 100. And then there’s the Reaktor evangelist who wonders why anyone buys physical instruments when you can do it all on the computer. So you could quite rightly dismiss the whole thing as a hollow elitist charade…but there is something incredibly powerful about modular synthesis when the user has a thorough understanding of what they want to achieve and how a modular will help them achieve it.
Being the dogmatic critics we are, we think there’s a best way to go about maximizing the machines’ potential in your productions without sacrificing your current workflow or your pocket money, which we will disclose via this step-by-step guide to what modules you’ll need and how best to integrate what you already do with modular gear. There’s only one rule: you agree that what you do to a sound is always more important than the sound itself. With this in mind, we propose a dual system that runs your computer in parallel with a small portable modular rack that doesn’t make sound but only processes what comes out of the computer. Since this style of system doesn’t need to generate audio or sequences, you save loads of cash on oscillators, amplifiers, sequencers, triggers and touch pads. Suddenly, a modular setup looks a whole lot more affordable, more portable and a lot less difficult to learn and maneuver. So while the modular world is still full of dead ends and fallacies, we wanted to present a course that might actually work for you.
Step 1: Get your audio into the modular.
The centerpiece of this system will be a module that can loop, chop and splice the audio coming from your computer. Depending on which module you purchase, you can modulate the playback speed and sample position and change the pitch or direction of playback. For instance, you could sample a famous speech, cut out a short phrase and make it play slow and backwards, while the rest of the speech plays normally, or you could render it a completely unrecognizable flutter of tiny grains of speech. Make Noise‘s Phonogene (explained in depth above) ticks all these boxes but is fairly pricey. Another popular option is Harvestman‘s Tyme Safari, or, if you’re going for a bargain basement price point, Doepfer’s A-112 will render your samples in crunchy 8-bit fidelity. Essentially, these modules produce a concrète-esque range of possibilities; a lot of amazing work can be done just by repitching, splicing and changing the speed of samples. Such an approach could inform your entire style or you could use it to complement more structured music in need of some pizzazz.
Step 2. Shift, spread and scatter.
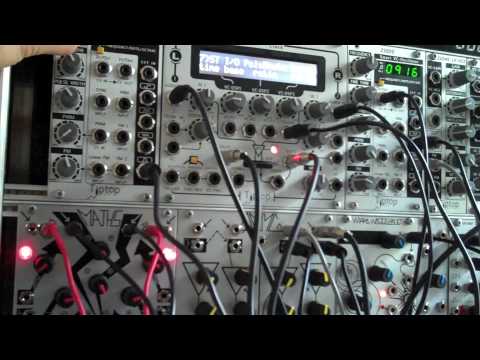
Now that your samples are flipping about nicely, it’s time to enhance the warping of spatial and temporal dimensions with some choice delay modules. In a sense, the above sampling modules perform a similar function to a delay in that they redistribute chunks of sound in time. So the key is to get your delay to expand this time-fucking strategy. Both the Tiptop Audio Z-DSP (seen above) and Make Noise’s Echophon use digital processing to create troves of mind-boggling effects which go far beyond your typical conception of “delay.” Modulating the delay time and feedback can give you whiplash snaps of sound or hyper-dread harmonic material by using the aliasing produced from down-pitching your signal. Then use these techniques to modulate the original sample and you’re getting into quantum fluctuation territory: time x sound = texture = rhythm = time. It’s all connected, and a delay shaping a sample can help you understand how these elements morph into each other.
Step 3. Stretch time with modulation.
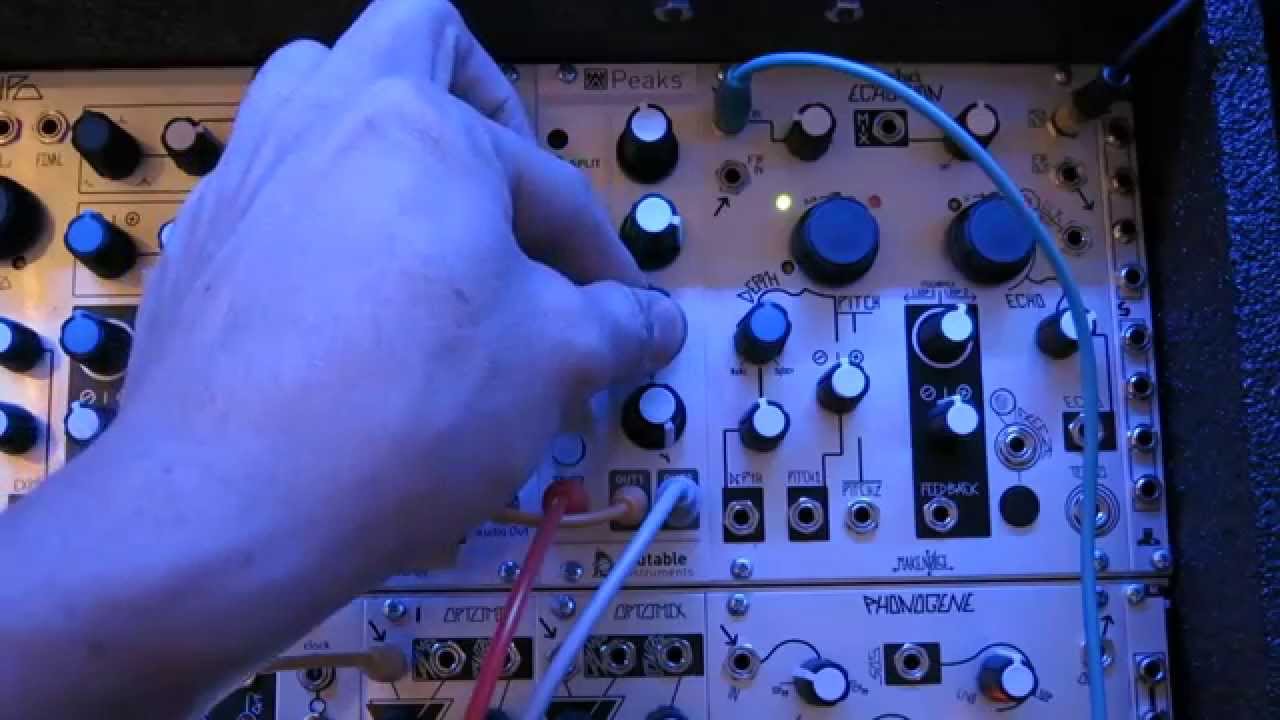
There’s a lot of potential for unruly sonic madness at this stage, so how do you shape, control and expand the possibilities? Envelopes. While modulation sources aren’t so sexy in isolation, they’re like the joints in a skeleton that facilitate the controlled movement of the limbs. Plus, there’s quite a variety of small, not-too-expensive and highly versatile modules out there. Do check Mutable Instruments‘ Peaks module (as ably demonstrated above by Richard Devine), which can run two separate envelopes simultaneously, produce typical but highly tweakable ADSR and LFO functions and make TR808-esque bass and snare drum sounds. Plus, it’s tiny. The Make Noise Maths needs to be mentioned here, as it’s one of the most hyped modulation sources around. It’s also a module that causes much consternation for new users, perhaps because of it’s unusual logic. However, once under control, Maths can make your samples seep out of the background at a glacial pace, or set them on a topsy-turvy rollercoaster.
Step 4. Cue and premix patches in your headphones.
Output modules don’t rank high of the “wow” list when it comes to sexy features, but they’re vital for managing the relationship between the input from your laptop and the signal you’re ultimately amplifying. Modules like Make Noise’s Rosie allow you to cue patches like a DJ cues tracks, meaning you can get your shit correct before letting loose on the audience. A stereo return input allows you to blend signals together, though our suggestion is to use outputs directly from multiple modules so as to control discrete chunks of resampled and time-warped audio via a multi-channel mixer. Think of it as if your computer signal was fed through multiple signal paths, each with its own distinct character, which you arrange via the mixer and tweak via the modular. Hopefully you’re getting a sense of what you’ll physically be doing with such a set up: riding faders and sculpting EQ on the mixer, tweaking modulations and texture with the modular, and triggering the raw signal from the computer…which takes us to the final piece of the puzzle.
Step 5. Control your computer without your computer.
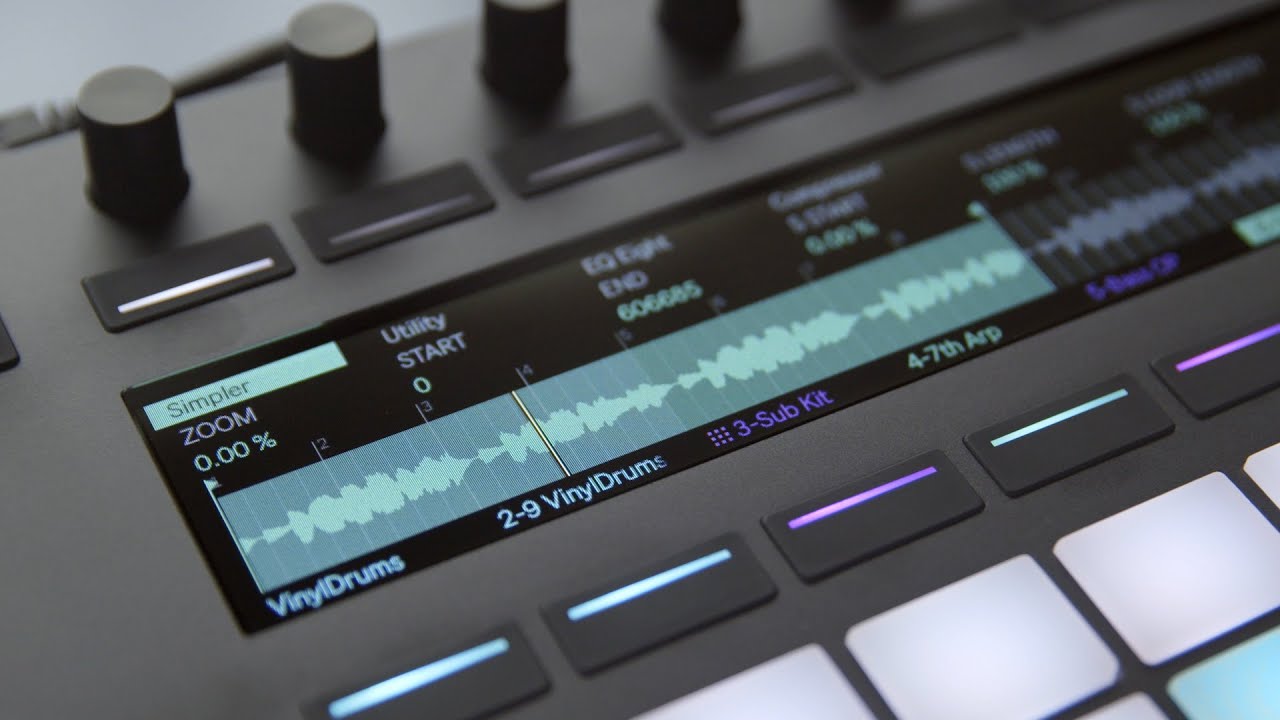
With this hands-on workflow in mind, we need to get your laptop out of the way without sacrificing any functionality. Ableton’s Push controller is a good example of how you can control your laptop in a performative fashion without stating at a screen and developing carpal tunnel. However, as long as you have a controller that allows you to use the pads as both a step sequencer and a melodic keyboard, you’re in business. Then you have one hand playing chords, melodies or punching in beats while the other works the modular and the mixer. The ultimate goal is to become fluent in the set up—once your hands understand what everything does, you’ll be dancing across the interfaces like a ballerina.
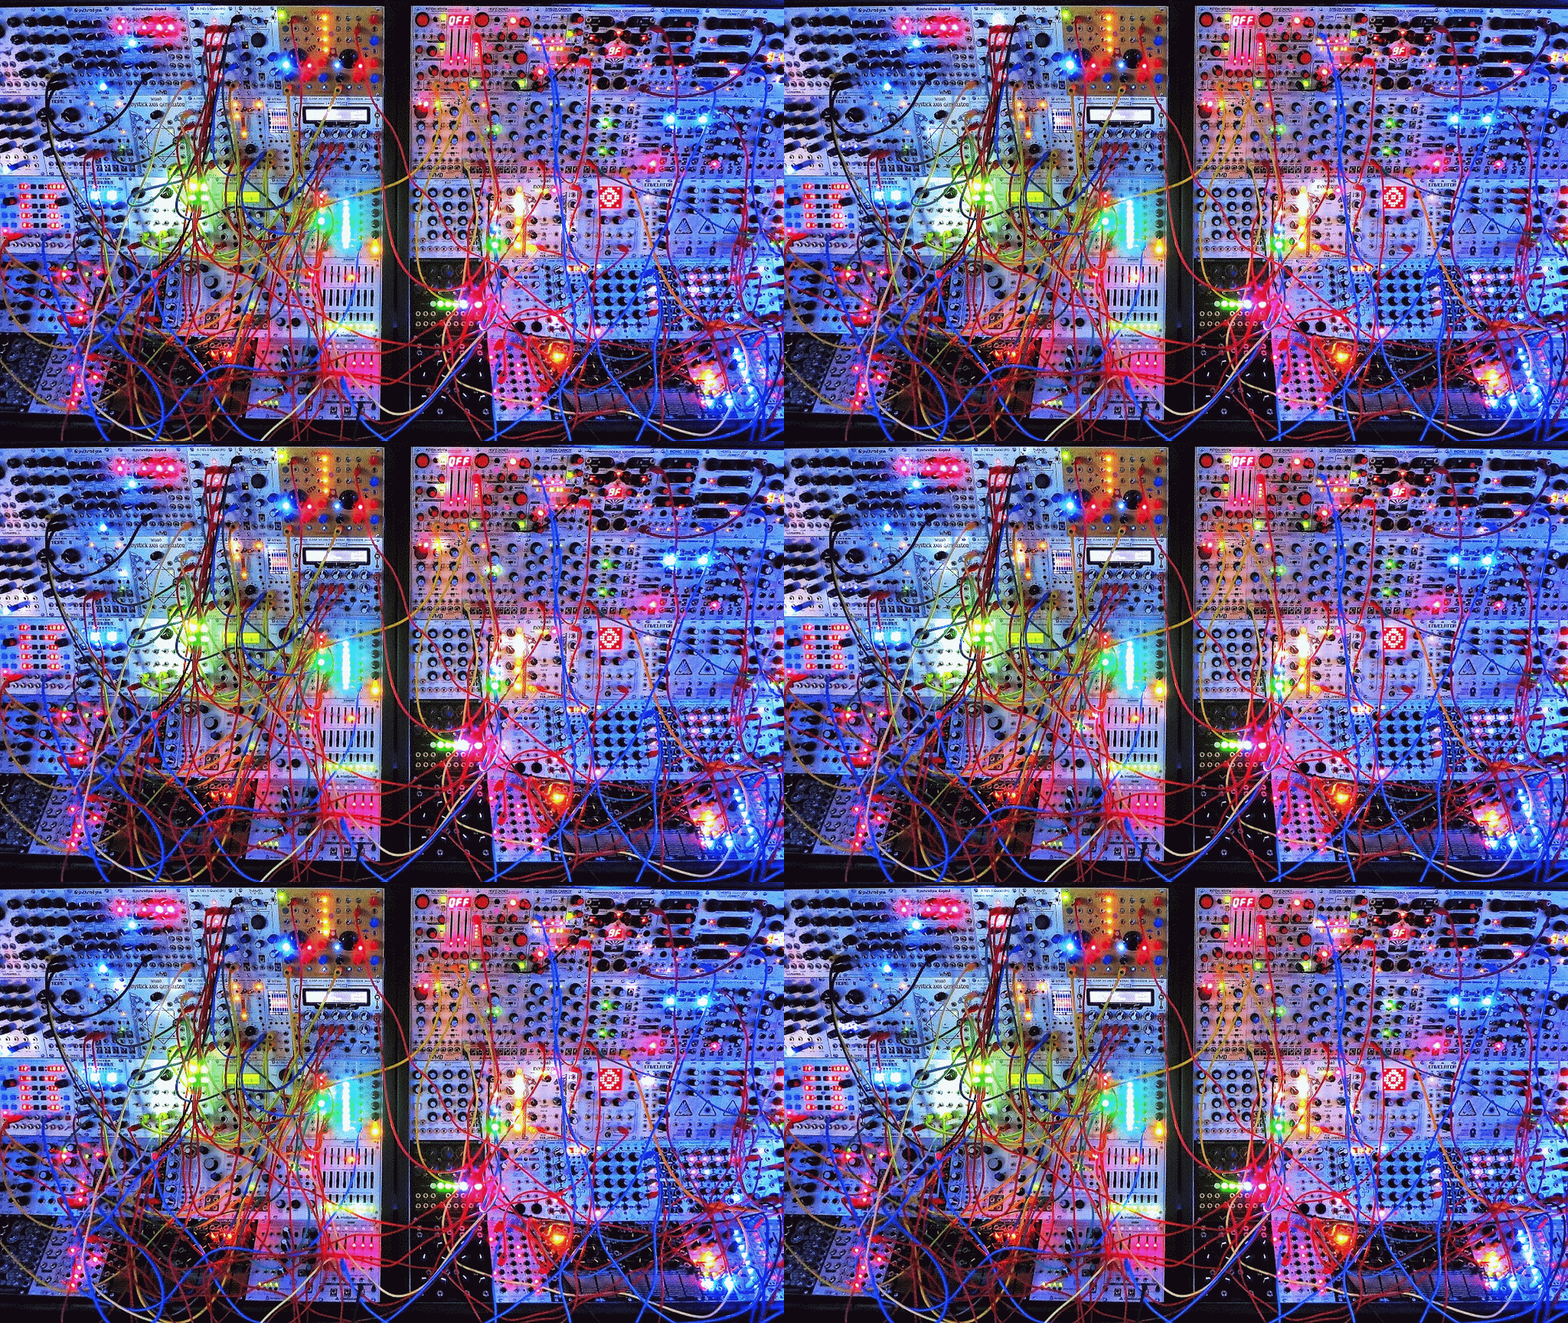
Header image courtesy of Richard Devine.
Published November 19, 2015.


